Easy Guide to Setting Up WordPress Multisite
Do you want to manage multiple client websites or theme demos without logging into different accounts? WordPress Multisite is the perfect solution. It lets you control many sites from just one dashboard. This saves you hours of maintenance work, giving you more time to focus on getting new clients and growing your freelance business.
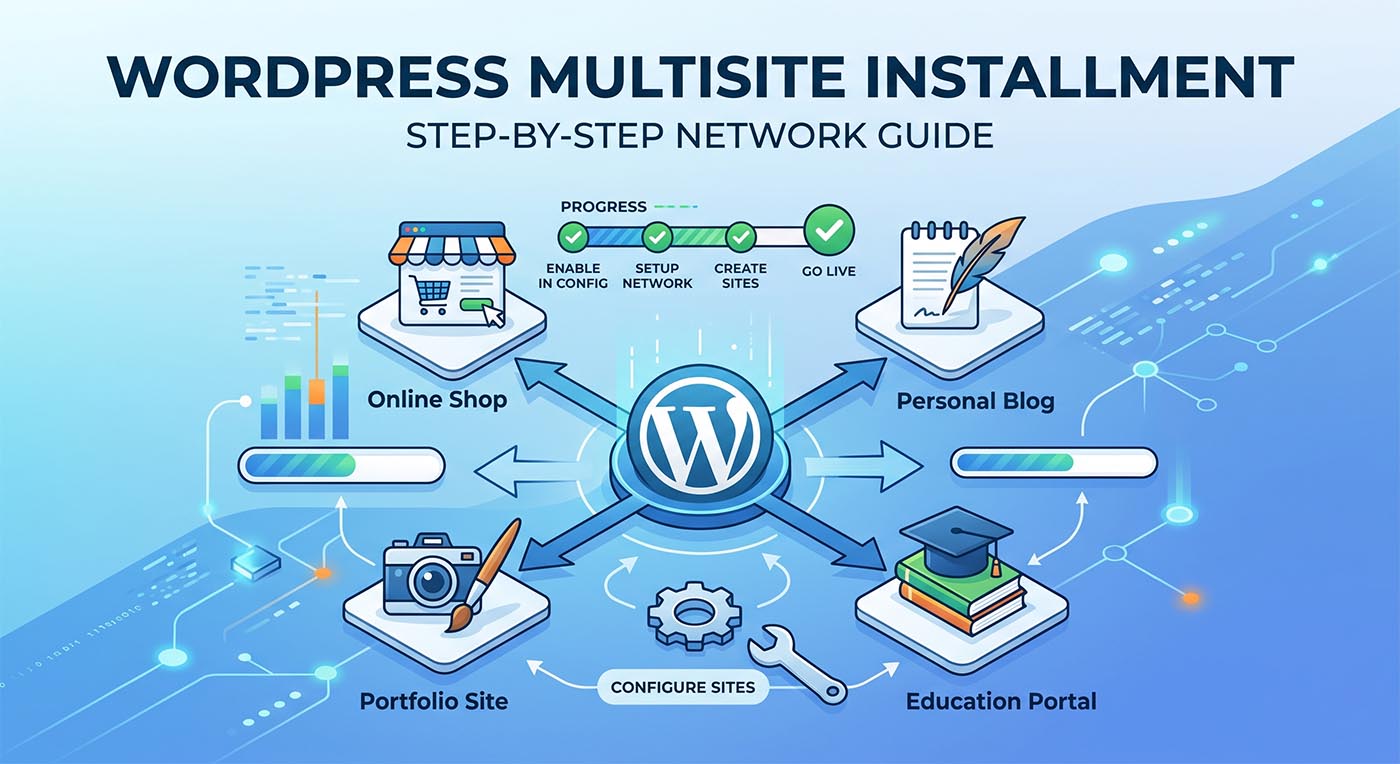
Here is a simple, step-by-step guide to turning on WordPress Multisite.
Step 1: Edit the wp-config.php File
Always take a full backup of your website files and database before making changes.
- Log in to your website files (using cPanel or FTP).
- Open the
wp-config.phpfile. You will find it in your main website folder. - Scroll down and look for this line of text:
/* That's all, stop editing! Happy publishing. */ - Just above that line, paste this short code:
PHP
define( 'WP_ALLOW_MULTISITE', true );
- Save the file and close it.
Step 2: Set Up Your Network
- Log back into your WordPress admin dashboard.
- On the left menu, go to Tools > Network Setup.
- Choose how you want your site links to look:
- Sub-domains: (Example:
client1.yourdomain.com) – Good for live websites and giving clients their own branded link. - Sub-directories: (Example:
[yourdomain.com/client1](https://yourdomain.com/client1)) – Best for working on your local computer (localhost) or showing off your portfolio.
- Sub-domains: (Example:
- Type in a name for your network and your admin email address.
- Click the Install button.
Step 3: Update Your .htaccess File (Important for Localhost)
If you are building sites on your local computer (localhost), the normal WordPress links might break. You need to update your .htaccess file to fix this.
- Open the
.htaccessfile inside your WordPress folder (for example:projects/wordpress/). - Delete all the old code inside this file.
- Paste this new code exactly as it is:
Apache
RewriteEngine On
RewriteRule .* - [E=HTTP_AUTHORIZATION:%{HTTP:Authorization}]
RewriteBase /projects/wordpress/
RewriteRule ^index\.php$ - [L]

# add a trailing slash to /wp-admin
RewriteRule ^([_0-9a-zA-Z-]+/)?wp-admin$ $1wp-admin/ [R=301,L]

RewriteCond %{REQUEST_FILENAME} -f [OR]
RewriteCond %{REQUEST_FILENAME} -d
RewriteRule ^ - [L]
RewriteRule ^([_0-9a-zA-Z-]+/)?(wp-(content|admin|includes).*) $2 [L]
RewriteRule ^([_0-9a-zA-Z-]+/)?(.*\.php)$ $2 [L]
RewriteRule . index.php [L]
(Note: Make sure the path RewriteBase /projects/wordpress/ matches your exact local folder name).
- Save the file and close it.
What to Do Next
After you save both files, WordPress will automatically log you out. Simply log in again. You will now see a new “My Sites” menu at the top left of your screen.
You are now ready to add new client sites, install your custom themes, and manage everything from one simple place!